How To Install an Undermount Sink
Posted by Sinks on 20th Feb 2024
Undermount kitchen sinks are one of the most popular kitchen sink installation models that give a sleek look to a kitchen with extreme ease for working and cleaning.
After buying the ideal kitchen sink to improve the look of your home, you need to be aware of a few things regarding its installation. Some of you may feel like it is a daunting task, but with proper planning and attention to detail, you can walk away with a successfully completed DIY project.
Here, we’ll take you through the step-by-step process of installing an undermount kitchen sink.
What is an Undermount Sink?
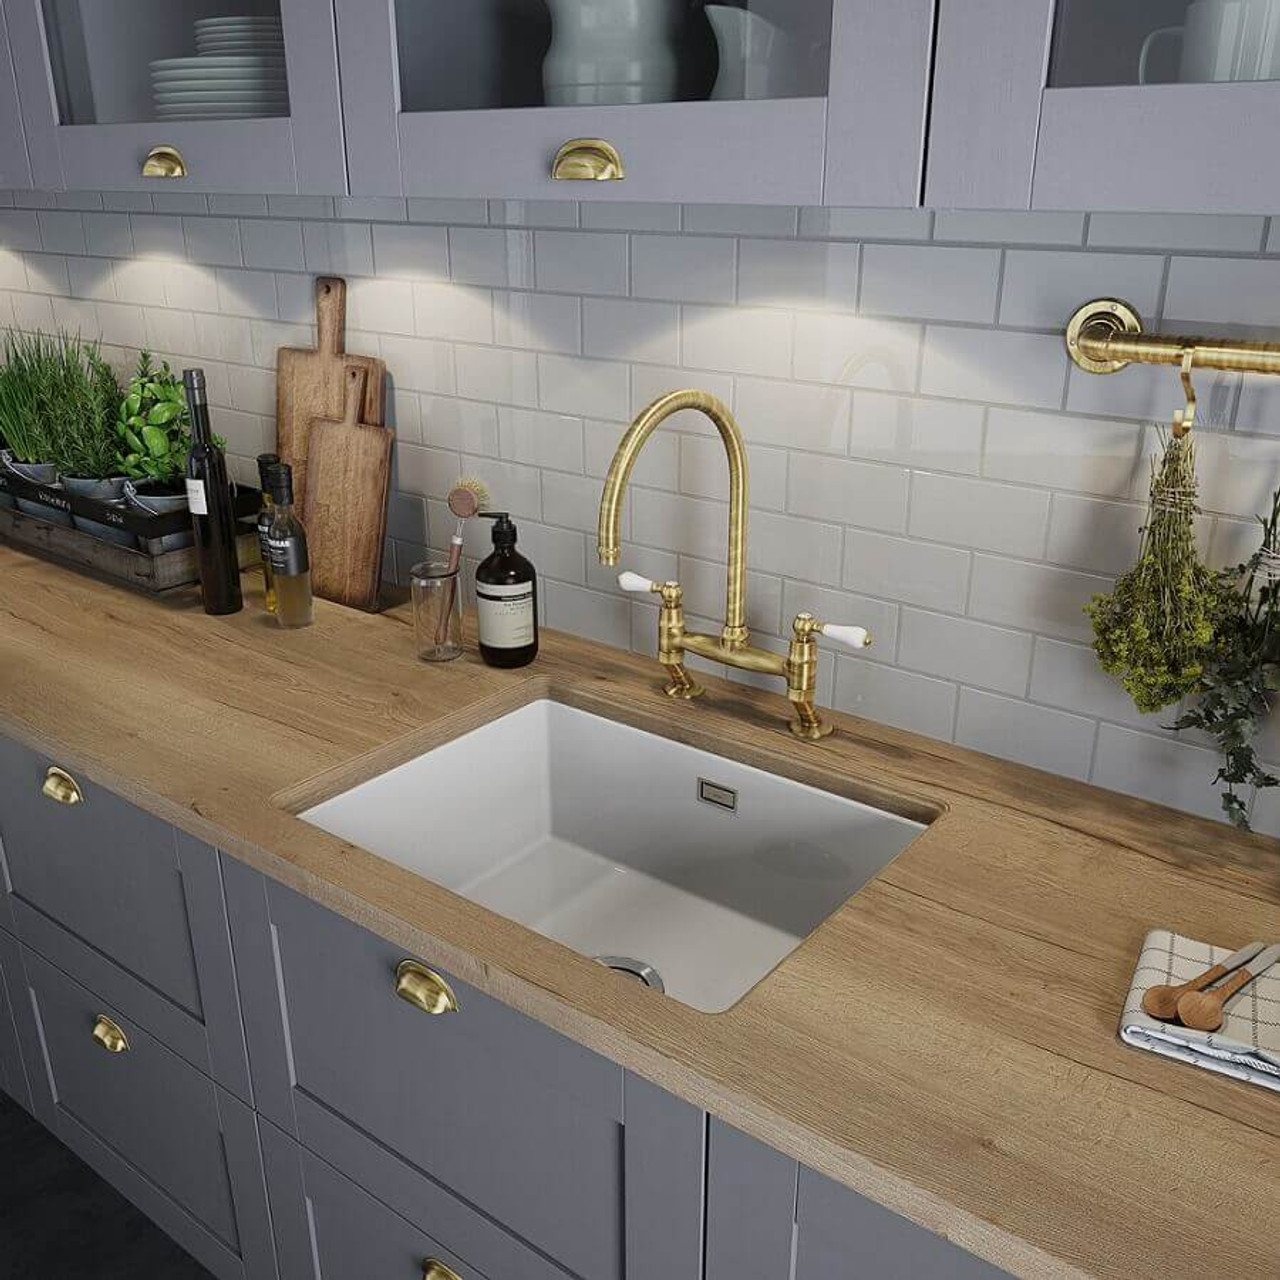
Before going into undermount sink installation, you need to know what it is and how it works. As the name suggests, an undermount sink is a sink that is mounted underneath the countertop in a kitchen. Since the sink is placed below the countertop, the edges of the sink are hidden, leaving a sleek and modern look to the kitchen. This installation method will also help you to prevent dirt and crumbs from getting caught while you are cleaning.
Step 1: Know the Best Sink Installation Method for You
There are three types of undermount sink installations: Positive Reveal, Zero Reveal, and Negative Reveal. You can choose from any of these three ‘reveal’ styles. The term reveal refers to how much of the sink rim is visible on the countertop while installed.
Positive Reveal:
In this method, a part of the sink rim is exposed past the edge of the countertop.
Negative Reveal:
This is the most uncommon method where the sink rim is entirely beneath the countertop and the countertop edge extends beyond the sink walls.
Zero Reveal:
No sink rim is visible. The edges of the countertop opening flush with the sink walls.
Usually, zero reveal installation is the easier one to clean and maintain than the other two. Otherwise, select the best reveal style according to your preferences and kitchen aesthetic.
Step 2: Get the Materials and Tools
Before starting your sink installation, make sure to have the right materials and tools beside you.
Materials:
- Undermount Sink
- Sink supports
- Countertop material
- Silicone sealant
- Epoxy adhesive
- Sink clips
Tools:
- Driller with the hole saw
- Jigsaw
- Screwdriver
- Clamps
- Tape measure
- Pencil
- Safety glasses
- Gloves
Step 3: Trace and Cut the Countertop
After choosing the right location for your kitchen sink on the countertop, measure the hole for the sink. For this, turn your sink upside down and trace the outline directly on the countertop using a pencil. Some sinks may have cardboard templates that can be used to trace the sinkholes. These outlines will be slightly larger than the actual size, so make a second outline about ½ an inch smaller than the original you have drawn for the hole.
Rub out the original line so you don't cut on the wrong line. Make sure that the sink you have purchased meets the measurements of the trace of the holes and double-check before cutting.
Once you’re ready, cut the hole with a jigsaw or circular saw along the traced outline. Use a power drill if additional holes for the kitchen tap and other accessories are needed.
Don’t forget to wear safety goggles and gloves before you start cutting.
Step 4: Install the Sink Supports
Installing sink supports on thin countertops will give you the robust support you will need. Concrete countertops themselves cannot bear the weight of a sink without a proper support frame. Thus, you need to build a frame support to get connected with the cabinet frame.
A commercial sink bracket is the first type of sink support that is designed to be installed onto a cabinet frame. Use a screwdriver or a drill to secure the bracket in place.
The next type of sink support is the custom wooden frame that mounts to cabinet walls. This frame supports the sink with its flanges.
A custom plywood shelf is the next support model, and it is a sheet of ¾ inch thick plywood shelf that is cut to fit inside a cabinet. The plywood has a hole cut where the undermount sink drops into. Ensure that the hole in the plywood is large enough to allow the sink to align with the hole in the countertop and tools to access the tap or plumbing hardware.
Step 5: Test Fit the Sink
For initial testing, place the undermount sink into the cutout and ensure a proper fit. Check that the sink fits tightly and the edges are flush with the countertop. Make necessary adjustments to the cutout if needed before proper fitting.
Step 6:Attach Your Sink
If everything seems to be correct, flip the sink upside down and apply epoxy adhesive evenly to the rim of the sink. Carefully lift the sink into the cutout and firmly press against the countertop. Wipe away the excess adhesive that may squeeze out and clean the sink with denatured alcohol.
Step 7: Secure the Sink with Clips
Secure the sink with sink clips before finishing it up. Position the clips around the sink and tighten them with a screwdriver. These clips will give extra support and stability to your kitchen sink.
Step 8: Seal the Edges
Make sure that you have a watertight seal between the downside of the countertop and the kitchen sink before finishing up the installation. Applying silicone sealant along the flange of the sink should be enough to create a watertight seal.
Ensure you are applying the silicone adhesive sealant to the underside of the sink openings so that only sealed concrete touches the silicone. This will prevent any moisture from seeping beneath the sink.
Step 9: Connect Plumbing and Check for Leakage
Connect the plumbing system and the taps into the kitchen sink including water supply lines. Ensure all these connections are tight and leak-free when you turn on the water supply.
Our Best Selling Undermount Sinks
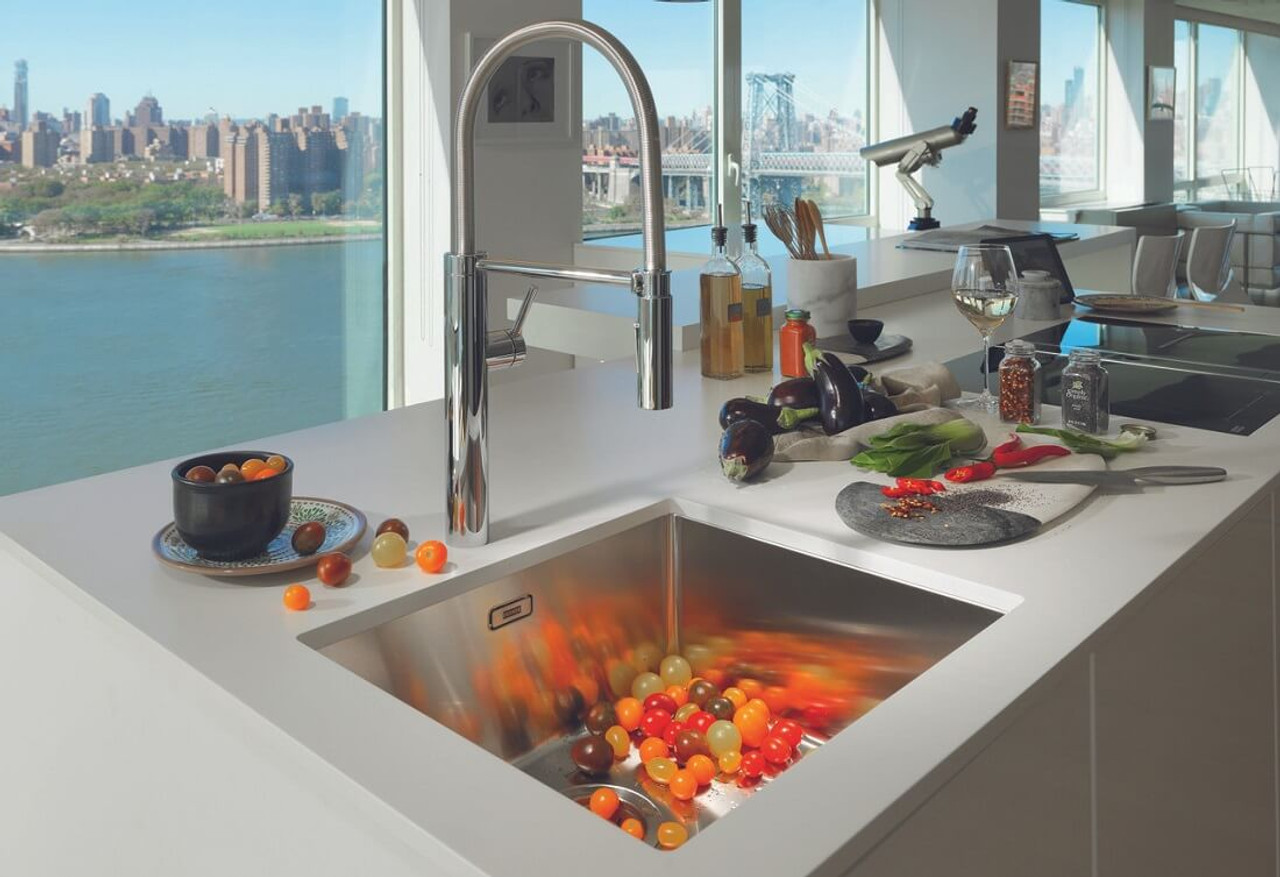
Franke Maris Brushed Stainless Steel Single Bowl Sink
A large single-bowl kitchen sink with brushed stainless steel finish. It comes with a waste kit, hygienic overflow, and a template. The sink is extremely durable and has a 50-year guarantee, proving the confidence in its quality.
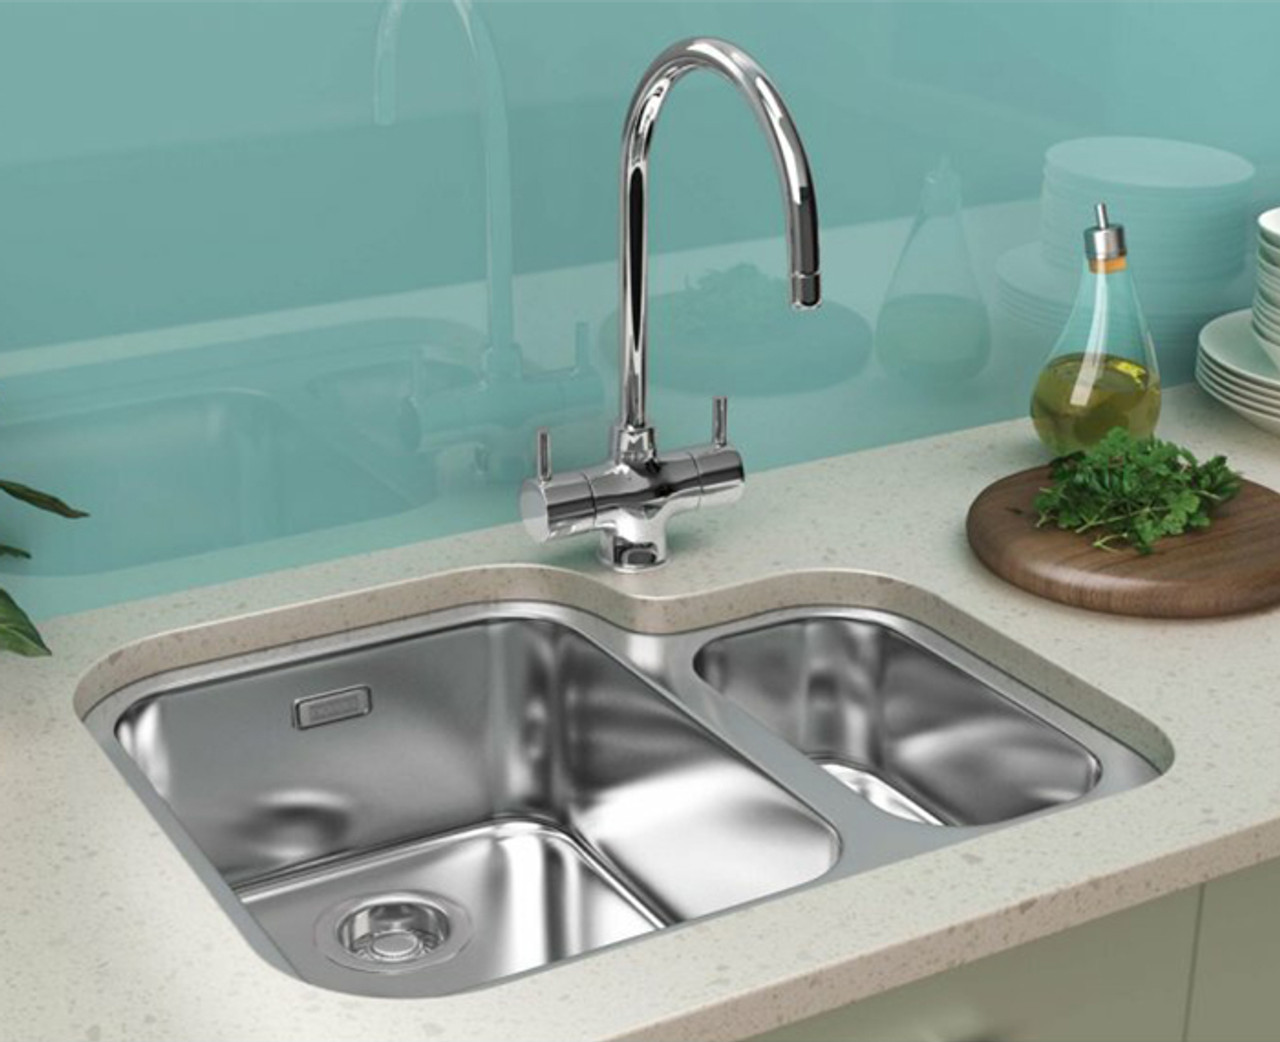
Franke Mythos Stainless Steel 1.5 Bowls Sink
This is a stylish one-and-a-half bowl stainless steel undermount sink from the Franke range. Its large and deep bowls are suitable for easy cleaning and usage, and it is made of the highest quality steel which gives a 50 year guarantee.
Austen & Co. Garda Double Bowl Stainless Steel Kitchen Sink
A multi-functional kitchen sink with two large and deep bowls ensuring maximum reliability in your kitchen. Made with premium medical-grade stainless steel, this sink has a powder spray coating that retains heat and resists scratches. This easy-to-clean sink gives you a lifetime guarantee.
Caple Mode Copper 1.5 Bowls Kitchen Sink
The most beautiful copper finish stainless steel sink has a right-handed small bowl. The large, deep 1.5 bowls sink looks classy and elegant in any modern kitchen. It comes with a waste and overflow kit and has great quality assurance with a 50 year guarantee.
Abode Matrix Double Bowl Sink in Grey Metallic
The best undermount kitchen sink with double large bowls that enable various functionalities together. Granite and acrylic composite sink with a grey metallic matt finish enhances the elegance of every kitchen. Softened square edges for a sharp, clean look. This durable kitchen sink comes with smooth-lined luxury orbit waste and provides a 10-year guarantee.